
Baskets are versatile, practical, and aesthetically pleasing pieces of art that have been part of human culture for centuries. Basket weaving requires careful attention to detail to create intricate and robust designs that will stand the test of time. However, adding color to baskets is a unique art form that requires a different skill set altogether. Staining baskets is a great way to add color and character while protecting the basket’s wood or reed. In this post, we’ll explore different types of stains you can use for baskets, the benefits and drawbacks of each, and how to create homemade stains.
Commercial Stains: As a basket weaver, using commercial stains can save you time and effort. Commercial stains are available in a range of colors and can be used directly on the basket. Many weavers use weaver’s stain, a tung oil-based stain that comes in a variety of colors. When using commercial stains, follow the manufacturer’s instructions for the best outcome.

Homemade Stains:
Creating homemade stains is an economical way to add color to your baskets. Three common household ingredients can be used to create an immediate stain effect, including Instant tea, Instant coffee, and Walnuts. Instant tea produces a warm reddish-brown color, Instant coffee creates a cool brown hue, and Walnuts provide a deep brown stain that is reminiscent of natural wood. To make homemade stains, brew the tea or coffee to a strong solution, then apply it to the basket using a brush,cloth or a spray bottle. Let it dry for a few minutes, and add more if a darker color is desired.
Making my own walnut stain:
There are numerous types of stains that can be used to color and protect your weaved baskets. However, making your own walnut stain is an excellent option for those who are adamant about using all-natural sources to do so. The next time you are out collecting or have a plethora of black walnuts on hand, try making your dye.
To create a smaller batch:
First, add the pieces of walnut husks and all,to a pot of boiling water. Allow the mixture to simmer for around an hour and then strain it through a cheesecloth. The resulting liquid is rich in color and ready to use on your basket.
To create a larger batch:
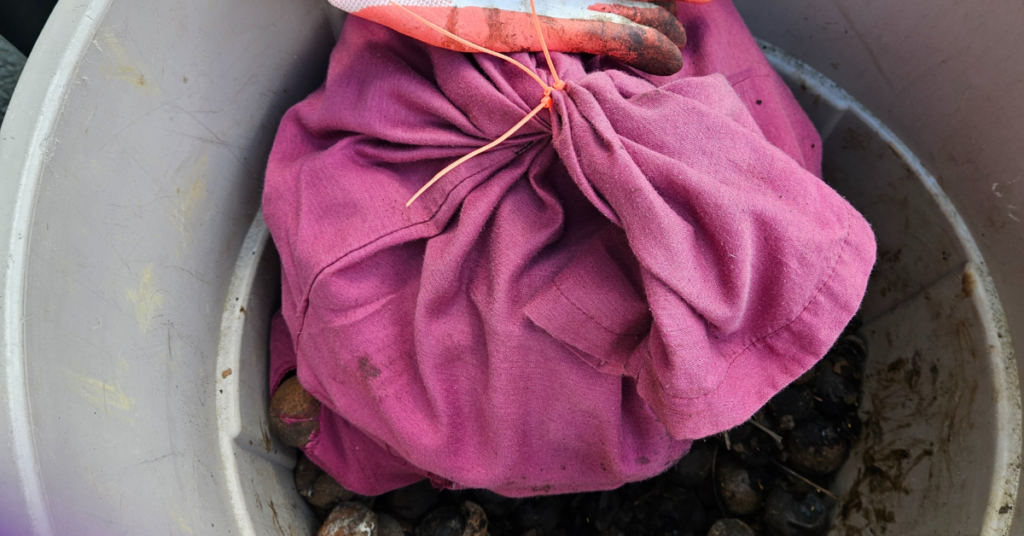
Add whole black walnuts to a pillow case and tie off. Put in a large trash can or large container with a wide opening. Add water and let sit for 4-6 weeks until the water has turned a color you love. Then remove the pillow case from the mixture. Strain if needed. You can add in some vinegar to help prevent mold.
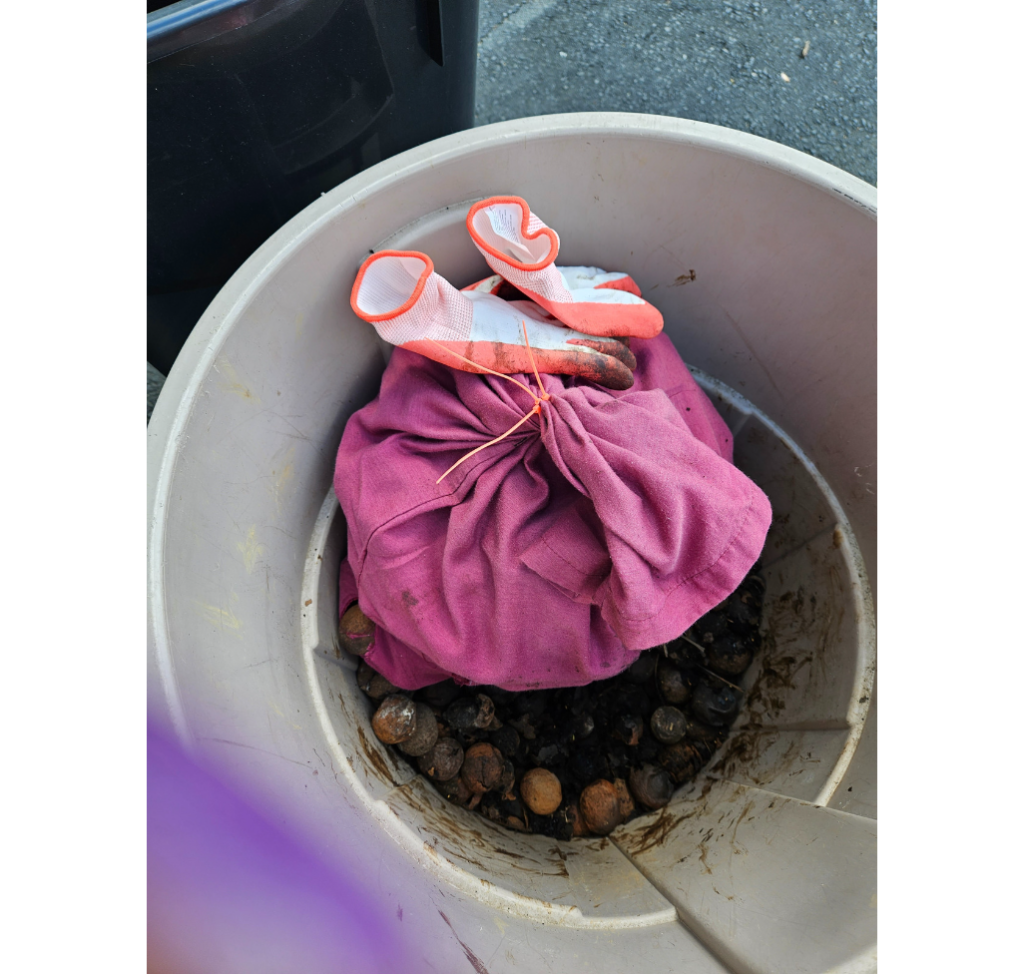
Walnuts added to pillowcase.
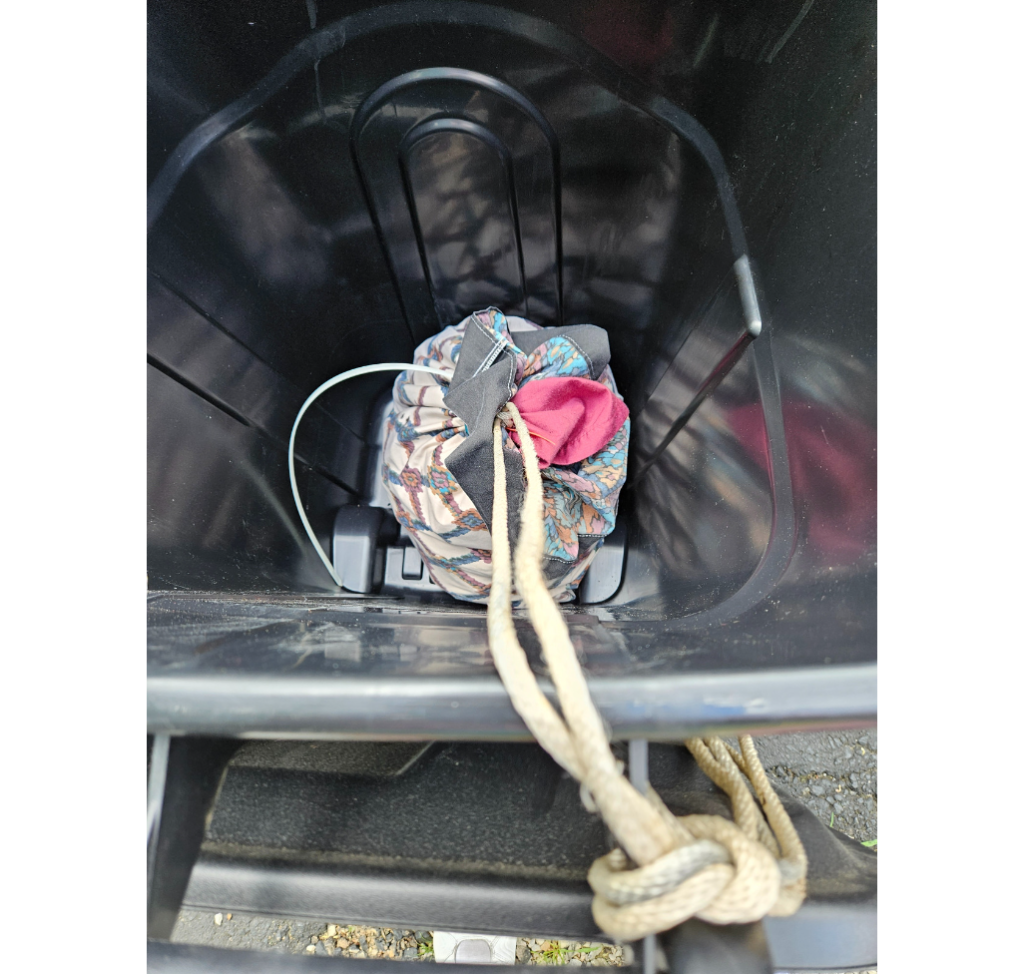
Walnuts ready for water.

Walnuts starting to leach out.
Staining baskets:
When it comes to staining baskets, three methods can be used: dip, brush, or spray. Dip staining is when you dip the whole basket into the stain solution, whereas brushing is when you apply the stain with a brush. By putting stain in a spray bottle you can spray your basket to get even coverage. Ensure your basket is clean and dry before applying the stain. Brush the basket with even strokes along the grain, slowly adding more coats until you get the desired color. Once you are done, allow the basket to dry completely before reapplying again giving time for the stain to adhere. Do the same if using a spray bottle. If you are dipping, make sure to wear gloves so you do not stain your hands!
Creating and using stains for baskets is a simple way to add visual interest, depth, and dimension to your pieces. Commercial stains are a fantastic option for novices, while those who prefer to stick with natural processes can explore the benefits of creating your stains with household ingredients such as tea, coffee, and walnuts. Regardless of which method you choose, be sure to experiment and have fun. With the right process, a stunning, colorful basket is at your fingertips.
